The Object Library tab makes it easy to create reusable objects for LED layout estimates and shop drawings. This is faster and easier than importing.
The main listbox shows the objects in the Object Library.
Adding Objects to your Layout
You can add them to your layout with a simple drag and drop. Left click on an object in the list and drag it into your layout. While dragging, the cursor will change to an arrow with a plus sign. When you release the left button, you see a red dotted rectangle to indicate the size of the object. Then press the button to place the object into the layout.
The tab has three buttons:
+ (Add)
The plus button adds the selected graphics to the library as a new Object. If you need to restrict scaling, slanting, or rotation, do so before adding to the library. Use the Arrange | Allow menu options to set these options.
- (Delete)
The minus key removes the selected Object from the library.
T
The "T" button shows or hides the text labels in the tab's Object list.
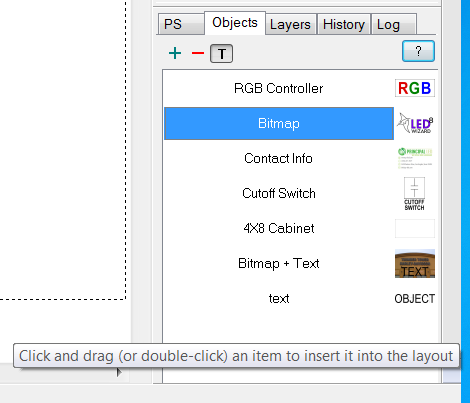
Here's an example of an Object Library that has a few items in it. This is the view that shows the name and the object.
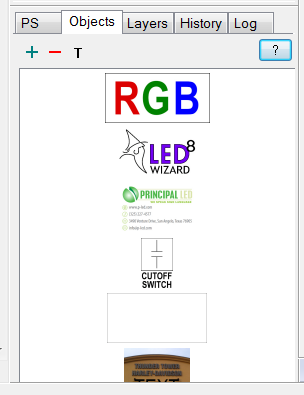
This is the view when you toggle off the "T" icon.
It is also easy to sort the items in the Object Tab by simply clicking and dragging them up or down in the list. In this way you can keep the objects in the order you want, not just in the order in which they were added.
This tool can be used to store common shapes and sign cabinets that are commonly used, in addition to bitmaps, logos, contact info, legal statements, warnings, etc. Experiment with adding Objects that you commonly use in layouts, as you may be able to save valuable time.
 LED Wizard 8 Documentation