|
|
Previous Next
8.6 Text MenuThe Text Edit tool provides an easy and direct way to enter text into your sign. When you click on the icon above, the Text Edit tool become active, and the following property bar is displayed. Entering text is very simple: just place the cursor anywhere you?d like, and click the left mouse button once. A large blinking cursor appears, indicating that you can enter text at that position and it will appear at the indicated height. TIP: You can change the height of text by dragging either the top or bottom of the blinking cursor up or down, and the height will change accordingly. EditingTo edit text, use the arrow keys on the keyboard, plus the Home and End keys to move around among the individual characters. Backspace and Delete function as you?d expect them to. Property BarThe text editing toolbar provides an easy way to access the properties of a text object. See below for a brief description of the features: (Top Left Dropdown List) This lists the available TrueType fonts in your system.
Enter the height of the text here.
This is the total length of the current line of text.
Click to de-link the height and length so they can be entered separately. AnchorThis box lets you select where the anchor point is for the text object. This is useful when specifying the X,Y position numerically.
These buttons will align a group of text objects, as well as align individual text objects so that, for example, when you type the text will expand to the right or from the center. Live Spell CheckingThis button enables or disables the Live Spell Check feature. ScaleUse this to enter a relative scale factor to apply. Letter SpacingThis controls the spacing between letters, also called tracking. Word SpacingThis controls the spacing between words. Line SpacingThis controls the spacing between lines when text objects are grouped, or when entering a new line of text. Extend/CondenseThis controls how scaled the letters are horizontally. Horizontal Position of the Anchor - XThis is the horizontal position in the layout as a number. Vertical Position of the Anchor - YThis is the vertical position in the layout as a number. Slant / ItalicThis is the italic or slant of the letters, in degrees. SkewThis is like Italic but applied vertically. RotationThis is angle of rotation in degrees. Kerning TextTo change the spacing between letters in a text object (kerning), click and drag the small handles at the lower left corner of every letter. To change the spacing all letters at once (tracking), click and drag the lower left or lower right handle of the text object. Text ToolThe Text Edit tool provides an easy and direct way to enter text into your sign. When you click on the icon above, the Text Edit tool become active, and the following property bar is displayed.
Entering text is very simple: just place the cursor anywhere you'd like, and click the left mouse button once. A large blinking cursor appears, indicating that you can enter text at that position and it will appear at the indicated height. TIP: You can change the height of text by dragging either the top or bottom of the blinking cursor up or down, and the height will change accordingly. EditingTo edit text, use the arrow keys on the keyboard, plus the Home and End keys to move around among the individual characters. Backspace and Delete function as you'd expect them to. Property BarThe text editing toolbar provides an easy way to access the properties of a text object. See below for a brief description of the features: Font ListThis lists the available fonts in your system, broken down into four categories:
AnchorThis box lets you select where the anchor point is for the text object. This is useful when specifying the X,Y position numerically. AlignThese buttons will align a group of text objects, as well as align individual text objects so that, for example, when you type the text will expand to the right or from the center. Live Spell CheckingThis button enables or disables the Live Spell Check feature. ScaleUse this to enter a relative scale factor to apply. Letter SpacingThis controls the spacing between letters, also called kerning. Word SpacingThis controls the spacing between words. Line SpacingThis controls the spacing between lines when text objects are grouped, or when entering a new line of text. Extend/CondenseThis controls how scaled the letters are horizontally. Horizontal Position of the Anchor - XThis is the horizontal position in the layout as a number. Vertical Position of the Anchor - YThis is the vertical position in the layout as a number. Slant / ItalicThis is the italic or slant of the letters, in degrees. SkewThis is like Italic but applied vertically. RotationThis is angle of rotation in degrees. Kerning TextTo change the spacing between letters in a text object (kerning), click and drag the small handles at the lower left corner of every letter. To change the spacing all letters at once (tracking), click and drag the lower left or lower right handle of the text object. Break ApartThe Break Apart command will break up a line of text into individual characters. This can be a handy feature if you wish to increase the size of one character without effecting the rest of the line. You can re-group the characters and select Convert to Text, and this will turn the individual characters back into a line of text. Live Spell CheckingThis command will toggle the live spell checking mode. In this mode, a red underline indicates a misspelled word, and you can Ctrl+Right Click on the text to see a list of options to take. For example: 
After Ctrl-Right-clicking on this graphic, you'll get this menu: 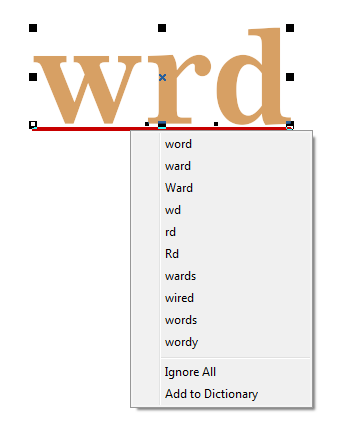
Select the correct word, or Add to Dictionary. Convert to TextOnce you have broken up a line of text, you can select a group of characters and then select the Convert to Text command. This will take the characters you have selected and convert them into a line of text. If you have selected characters that are made up of different attributes, the line of text will be changed to reflect the attributes of the first character in the group.
Change CopyEnter the new copy for the selected line of text. You can enter multiple lines here and multiple objects will be created as needed. The shortcut key for Change Copy is CTRL+T, or just T. Change Case ToolsThis menu presents various text cases you can choose from. Use Toggle to change the case of text. It will cycle through the following forms: lowercase Capitalized Small Caps UPPERCASE 
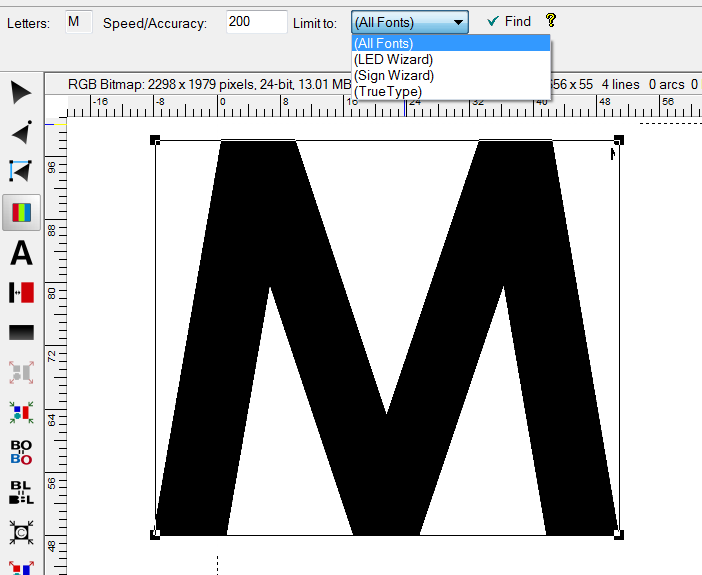
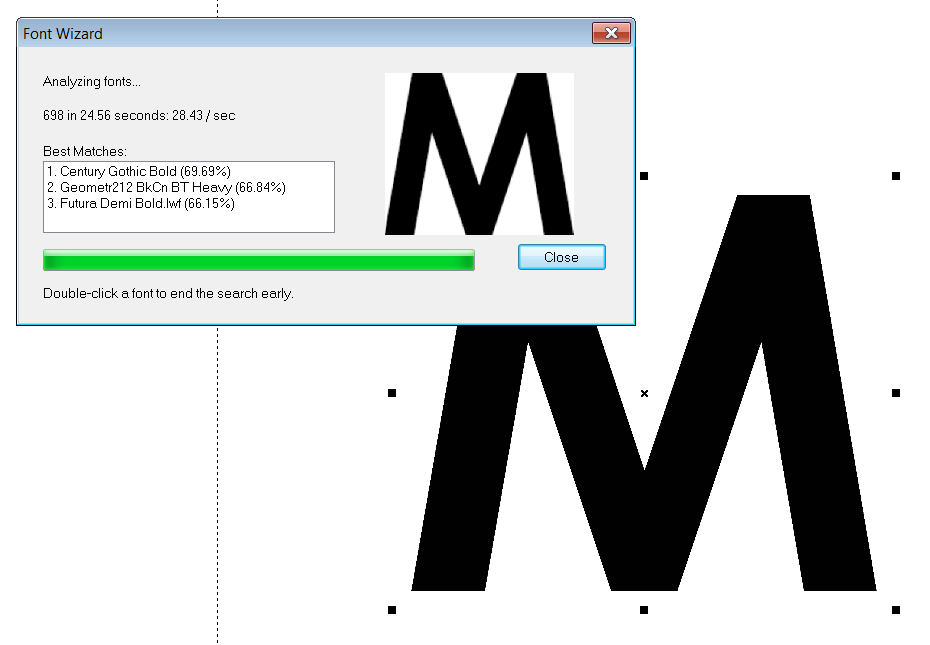
Font WizardThe Font Wizard provides a simple way to determine the best font match of a scanned letter set or imported bitmap file. Once this font is determined from the fonts on your system, you can then type over the bitmap with the standard Text Tool. The steps for using this feature are:

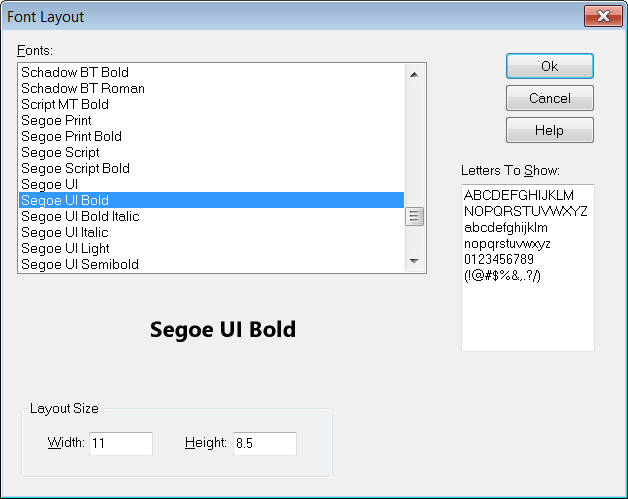
Font LayoutThis window lets you create a layout of an entire font quickly and easily. Select the font and optionally the set of letters to include and press OK.
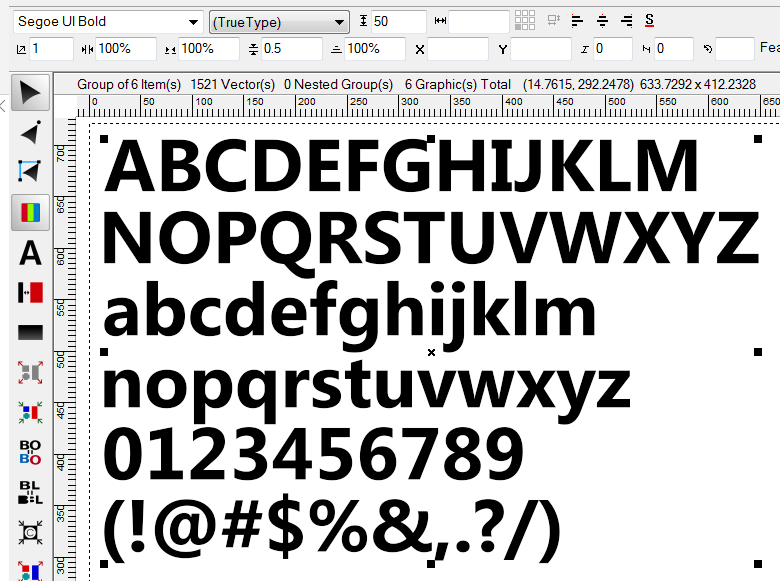
This font with this set of characters creates this layout.
VerticalUse the Vertical command to convert the selected text into a vertical layout. 
The control points around the text still work in vertical layout mode. Vertical text is an option that is selected in the Text Menu. If you go back and uncheck it, the text will go back to normal horizontal mode. 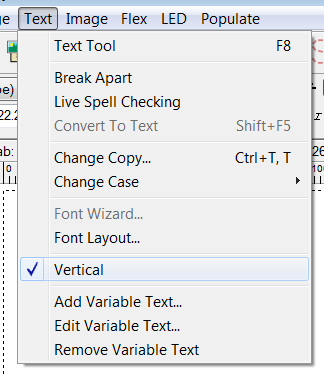
Add Variable TextThis command will add a variable text property to the selected text. This allows a text object to have different data that's easily updated, and is used for LED stats in the title block templates. For example, in your Title Block Template, you might have a field for Date. Instead of having a static text object that you have to update every time you make a new layout, you can make this into Variable Text using the data variable $DATE, in which case the current date is automatically updated. See Edit Variable Text for more information on this dialog and a list of the available data variables. Edit Variable TextThis command lets you edit variable text for an object. Variable Text goes into a standard or customized Title Block Template and provides data specific to the layout. As you can see below, there is a rich set of data variables to choose from. A faster way to open this Template Text dialog box is to double click on an existing data variable text object. Normally, double clicking on an object while in the Layout Tool will launch Powerflow, but when done on a data variable object, it will open this dialog box instead. 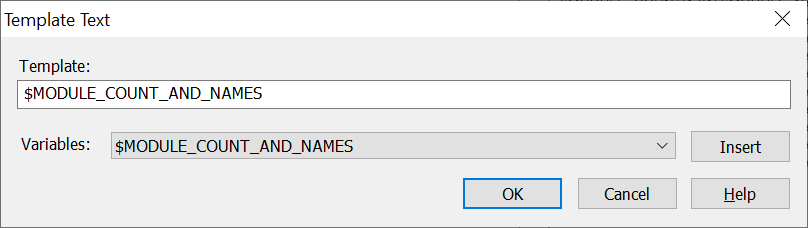
If you are editing an item in an existing Title Block Template, you may have to Ungroup to access the individual data variable objects. Title block templates are merged into the layout as one large Group. TemplateThis is the template text for the variable text. A variable is a text string starting with $ and will evaluate to different text or number, depending on the variable name. The above dialog box shows the $MODULE_COUNT_AND_NAMES variable for the current layout. VariablesThis is the list of variables you can pick from. Note that you can have multiple data variables together on the same line, which can be separated by spaces, dashes, commas, etc. In this case, you might select one from the list and then type in the additional data variables that you want on the same line. The names are pretty self-explanatory, but following the name is a short description: $AVG_MODULES_PER_FEET or $AVG_MODULES_PER_METER $AVG_MODULES_PER_SQUARE_FEET or $AVG_MODULES_PER_SQUARE_METER $AVG_MODULE_SPACING_FEET, $AVG_MODULE_SPACING_INCHES, $AVG_MODULE_SPACING_MM $CAN_DEPTH or $CAN_DEPTH_SLASH $COMPANY $DATE $DESIGNER 
$DIMS $DOC_FACE_MATERIAL_COLOR, $DOC_FACE_MATERIAL_MAKE, $DOC_FACE_MATERIAL_NAME, $DOC_FACE_MATERIAL_THICKNESS 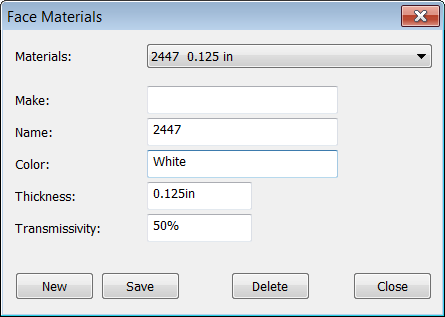
The actual Face Material used for the job should be chosen from the list in the Job tab in the upper right of the screen, and then the data variables will follow from the selection. $FONT $ILLUMINATION $LETTER_HEIGHT $MODULE_COUNT_AND_NAMES $MODULE_BRAND $MODULE_COUNT_AND_NAMES $MODULE_COUNT_AND_PART_NUMBERS $BRAND_NAME $MODULE_COUNT_AND_PART_NUMBERS Adding the brand name to the beginning gives us this: $MODULE_BRAND $MODULE_COUNT_AND_NAMES - $MODULE_PART_NUMBER $PS_COUNT_AND_NAMES $PS_BRAND $PS_COUNT_AND_NAMES $PS_COUNT_AND_PART_NUMBERS $PS_BRAND $PS_COUNT_AND_PART_NUMBERS $PS_COUNT_AND_NAMES ($PS_PART_NUMBER) $PS_BRAND $PS_COUNT_AND_NAMES ($PS_PART_NUMBER) $MODULE_NAME $TOTAL_MODULE_COUNT $TOTAL_WATTS $PS_NAME $TOTAL_PS $TOTAL_AREA_SQ_FEET or $TOTAL_AREA_SQ_METERS The total area of the sign can be displayed as square feet or square meters. This is useful for face and back materials, but note that the layout is not nested. $TOTAL_PERIMETER_FEET or $TOTAL_PERIMETER_METERS The perimeter measurement, in feet or meters, can be used to estimate trim cap and channel letter return coil. $TOTAL_FOOTAGE The Total Footage data variable should only be used with fixed spacing modules! In general, the concept of "footage" is problematic with LEDs that have variable spacing, so be careful. $DATE_US This is the standard US date formatting, which returns the current date in the MMM DD, YYYY format, such as Jan 01, 2019. $DATE_INTL $DATE This returns the current date in this format as the default: Jan 01, 2019. You can change the Date formatting in the Options dialog box, General tab. In some cases on these data variables, you may want to add a label after the data is updated. To do this, enter the label after the data variable with a space in between. In other cases, a label is already added, such as a unit of measure. For example, after $MODULE_COUNT you may want to add text such as "modules" or "mods" So you would enter "$MODULE_COUNT modules", or "$MODULE_COUNT mods" and get: 180 modules 180 mods Just entering $MODULE_COUNT would give: 180 Please note that to edit a Variable Text Object, double click on it while in the layout Tool to bring up the Template Text dialog box. 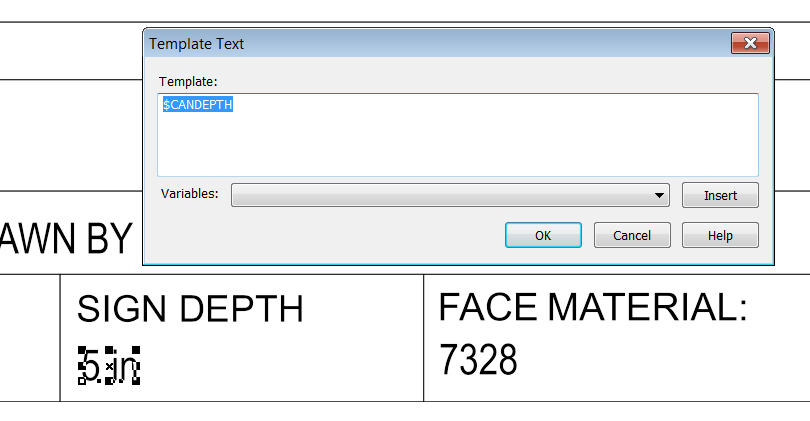
Remove Variable TextThis command will remove any variable text from the selected object. See Edit Variable Text for more information about variable text. Please note that Variable Text is an attribute of a text object, it is not the text object itself. If you Remove Variable Text from a text object, that text object remains. Therefore if you want a static text object to be in your title block template, just type it in using the Text Tool. Previous Next |


 Note that this will not work with text that has been imported from another program. The original text has to be entered with the LED Wizard Text Tool.