This is how the screen will look when you first run LED Wizard 8 after installing:
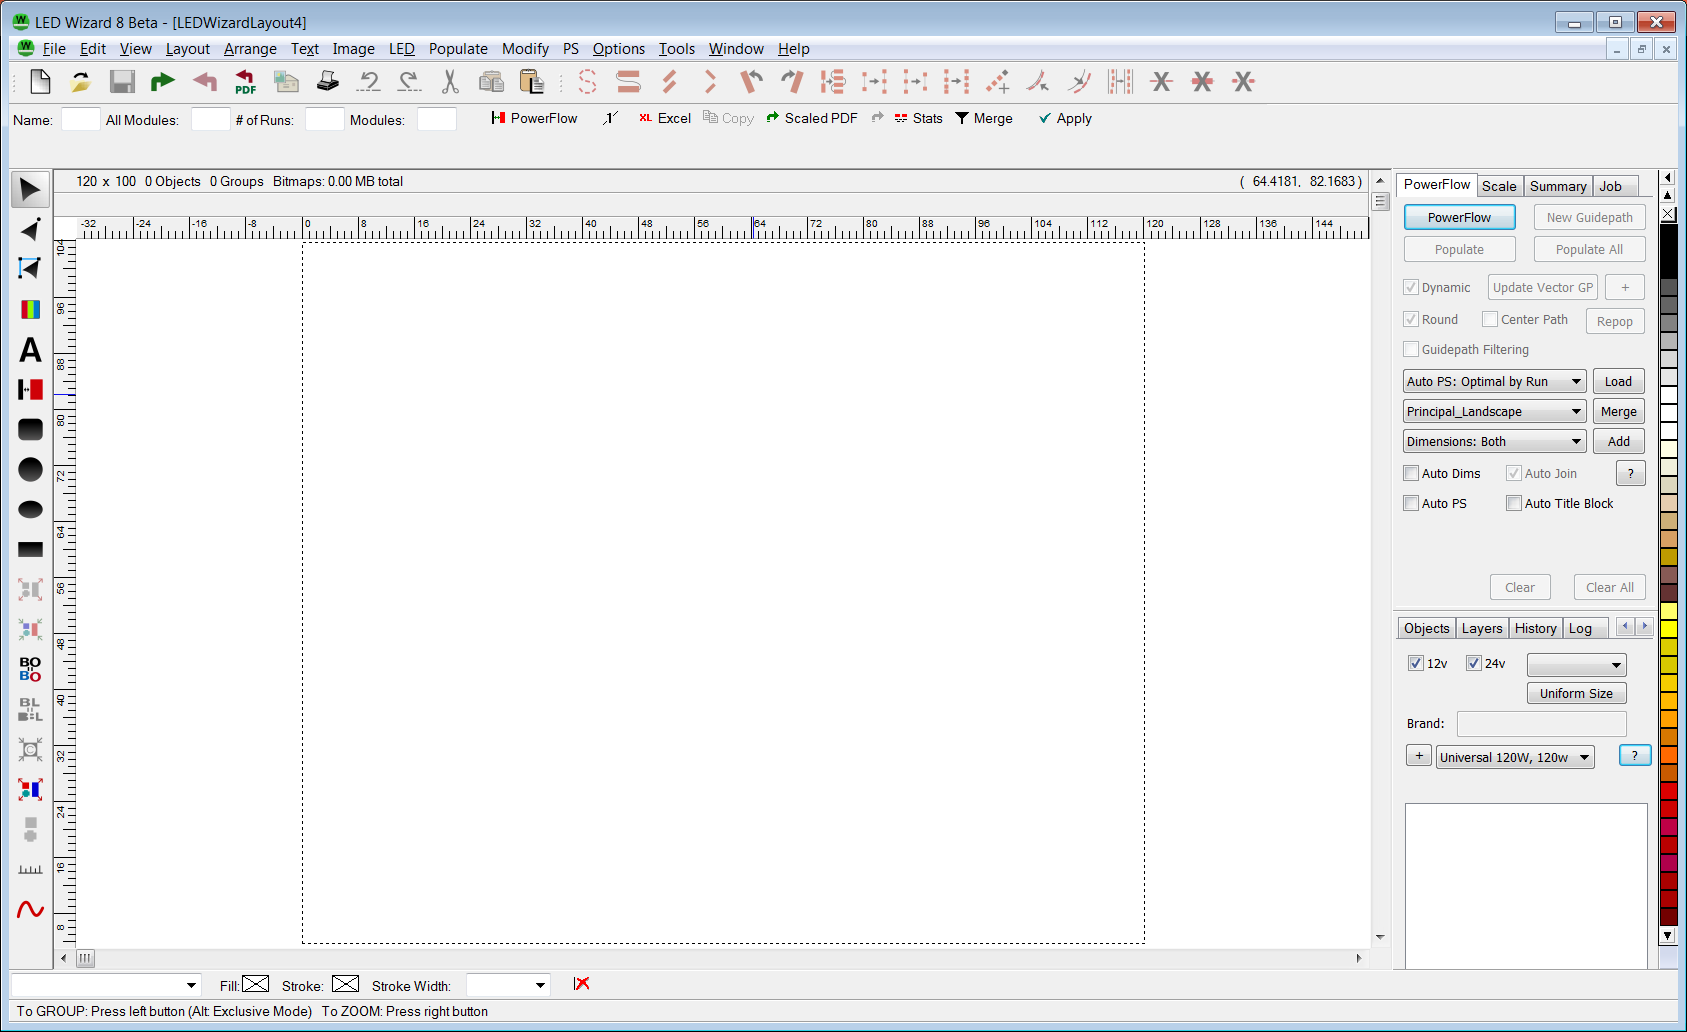
Let's review the various sections of the screen and establish some terminology:
Title Bar
This the very top of the LED Wizard 8 window. It will show the name of the active file.

Menu Items
This is the list of menus that go from left to right, just under the Title Bar. They include File Menu, Edit Menu, View Menu, Layout Menu, Arrange Menu, Text Menu, Image Menu, LED Menu, Populate Menu, Modify Menu, PS Menu (Power Supply), Options Menu, Tools Menu, Window Menu, and Help Menu.

Note that each menu above is linked to a help topic, which then describes every option in that menu. These are included in the Menu Reference section.
Toolbars
The next set of items are the Toolbars, which consist of Icons that give immediate access to various functions and tools. The Toolbars are customizable, but for now, this is the default on an initial launch.

Note that each icon in the Toolbar has a Tool Tip, which will display if you hold the mouse over the icon for a second.
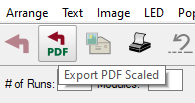
Depending on what you're doing in the software, some icons will be available and some may not. Here in the default toolbar, the icons to the right are grayed out because those are used in the PowerFlow operating mode.
Property Bars
Next down are the property bars, which will change depending on the mode you are operating in, or the tool you are in, or what you have selected on the screen.

Many operating modes, tools, and functions have their own property bars, as well as cwertain types of objects, such as a bitmap, shape, or text item.
Status Bar
The status bar will give pertinent information about the layout, such as the size, the number of objects, groups, and bitmaps.

Like the property bar, the status bar will provide information depending on the type of object in the layout.
Density Status Bar
Just below the main Status Bar is the Density Status Bar, which provides the density lookup information that the software is using for your layout.

The above information will not be shown on your initial launch. You must be in PowerFlow to see this status.
Toolbox
The Toolbox is the set of icons that go down the left side of the screen.

Like the Toolbar across the top, these icons have Tool Tips and can be customized according to the functions that you want easy access to.
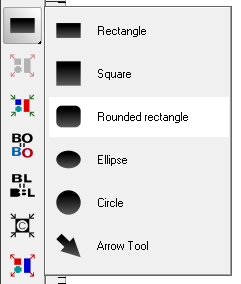
If the icon has a small arrow at the lower right, then it is called a "flyout" icon, and by clicking on that arrow, more functions are revealed. In the graphic below the Rectangle icon reveals additional Shapes icons.
Rulers
The default option of Show Rulers is on for a new layout. This will be displayed in the Units of Measure that you have chosen in the Options dialog box.
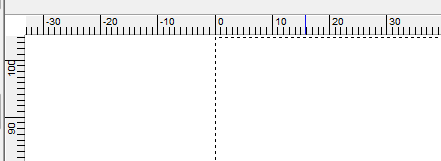
Note in this graphic that there is a dotted line going up and then to the right. This is the layout area, and the Ruler starts at 0 and goes up to the right. The origin (0,0) of the layout is the lower left of the layout area.
Layout Area
The default layout size in LED Wizard is 120" wide by 100" tall. This is shown with a dotted line rectangle.
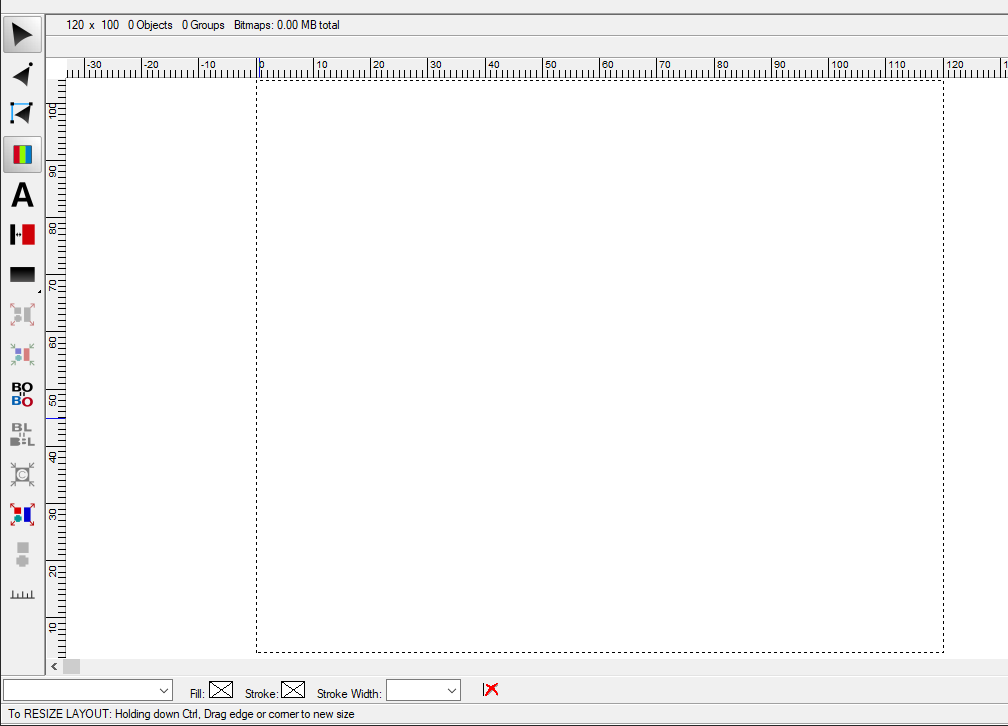
If you want to change the layout size, you can position the mouse on one of the edges and hold thet CTRL key and drag the mouse.
Color and Stroke Properties
Below the layout area is a small property bar for colors and strokes.
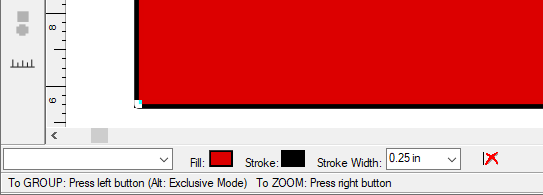
Here there is a rectangle with a red Fill color and a black Stroke, with a Stroke Width of .25" If you have an object filled with a named color, that color would appear in the list to the left of the Fill color.
Help Bar
At the very bottom of the screen is the Help Bar.

This will provide help, again depending on what you're doing. It is a very good idea to remember this Help, especially for shortcut keys and options for various functions, operating modes, and tools.
Tabs
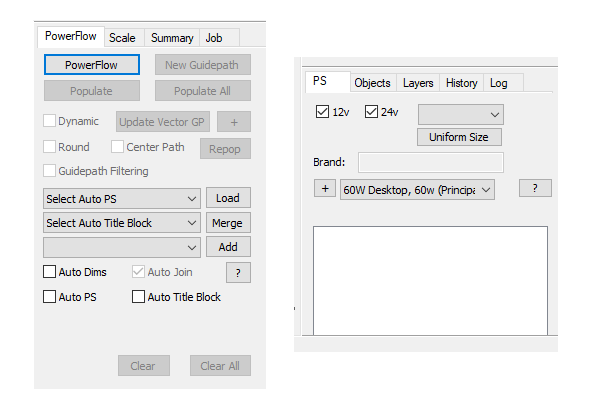
Along the right of the screen is a Tab interface that gives direct access to a variety of functions. The top tab contains PowerFlow Tab, Scale Tab, Summary Tab, and Job Tab. The bottom tab contains PS Tab, Objects Tab, Layers Tab, History Tab, and [[Logs_Tab]].
Color Palette
Finally, along the right side of the screen, when Show Colors is turned On, is the Color Palette. Most of the time, your artwork will already have colors that will be brought in, but here is a list of colors that you can select from to fill an object.

Multiple Document Interface (MDI)
LED Wizard 8 supports multiple documents, so in the upper right corner, you can minimize, maximize, close, or float a Window. See Multiple Document Interface and Window Menu.

 LED Wizard 8 Documentation
 LED Wizard 8 Documentation